Back Bolt Type Stone Curtain Wall System

FREE CONSULTANCY

BUDGET FRIENDLY

GET A QUOTE
BACK BOLT TYPE SPECIFICATIONS

SPECIFICATION OF ALUMINUM ALLOY
The structure is made up of profiles and brackets manufactured via the extrusion of aluminium alloy, with a minimum thickness of 2 mm.
The structure will be tied to the support in order to absorb thermal expansion/shrinkage and subsidence of the support itself so that the external covering is not affected by any possible future induced stress.
The safety of the system must be guaranteed via a subsequent check for every single project; in accordance with the norms relating to wind pressure/depression.
SPECIFIC DESCRIPTION OF BACK BOLT SYSTEM
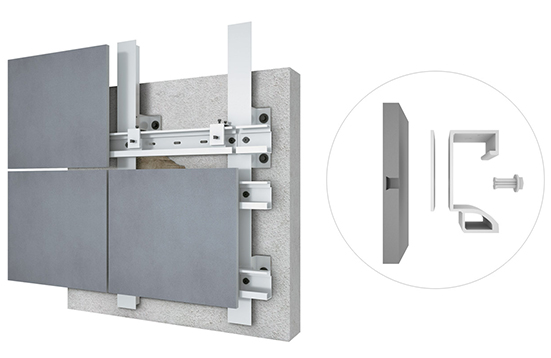
The fixing of the stirrups to the support of the bottom will have to be realized by means of dowels appropriate dimension and adapted to the specific type of the support. The mounting of the uprights on the stirrups will be done by means of rivets, with “fixed point” and “sliding point”, according to the executive project.
The rising profiles will be successively fixed in place with the horizontal profiles drilled and shaped so that the stresses due to the action of the wind doesn’t stress the clips.
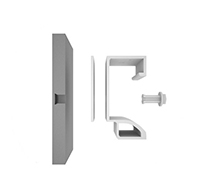
This system provides forward facing slabs. Which consist of a mechanical machining. performed on the back of the slab and the successive insertion of steel clips.
This preparation has been specifically designed for anchoring clips that will then be hooked to the horizontal profile.
BACK BOLT STONE CURTAIN ADVANTAGES

Ease of installation
Compared with the traditional facade installation, dry hanging can avoid the procedure of grouting process. It can also shorten the construction period and save costs.

Unaltered technical and aesthetic performances
Without using cement and glue, the colors of the slabs remain unaltered over time and the surfaces do not absorb pollution.

Water resistance
Ventilated facade prevents rain and ice from entering the wall. It can avoid the stones from falling off, and reduce maintenance costs.

Eco-friendly and resource-saving
The contact area between the stone panel and wall is empty. Therefore, it can effectively prevent the conduction of temperature, saving energy.

Safety performance
Each piece of stone has four back bolts. All of them can withstand the weight of stone and the contact area between the keel hanging pieces is large. Therefore, the whole system of stone panel is safer than standard facade.

Ease of repair.
If the stone ruptured, it is not easy to fall off because the back bolt can withstand the weight of stone and easily be replaced.
BACK BOLT DRY HANGING INSTALLATION PROCESS
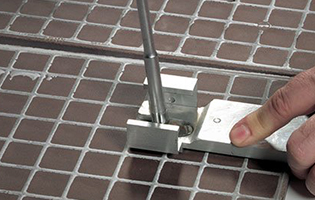
Step 1
The preparation of the slab,insert the dowel into the staple,and tightening the screw the slab is this ready to be positioned
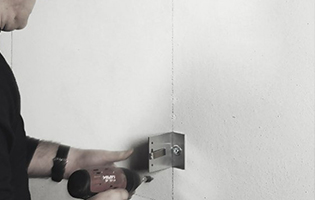
Step 2
After drawing the positioning of the elements according to the project on the facade, the stirrups and the fixing of the stirrups are carried out by mechanical or chemical dowels
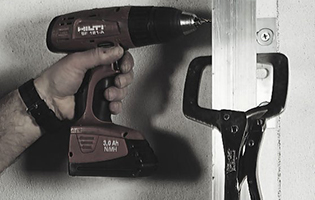
Step 3
We fixed the insulating material by nylon plugs because of 3/4 per m2
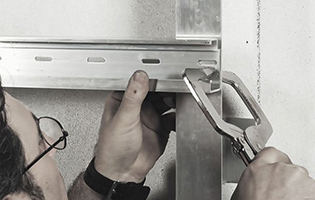
Step 4
At this point the vertical uprights collapse and then align and level them.
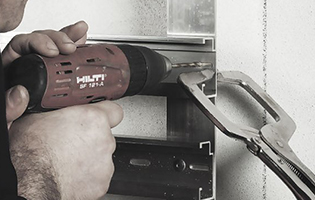
Step 5
After making the holes fit the rivets and hangs all together. The rivets must be inserted according to the project indications, that is to say that they create “fixed points” or “moving points”.
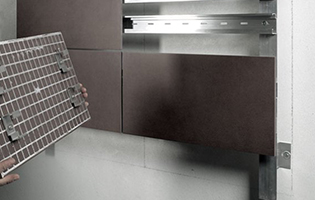
Step 6
Now it is possible to fix the horizontal profiles drilled at the appropriate levels (see “slab preparation” )
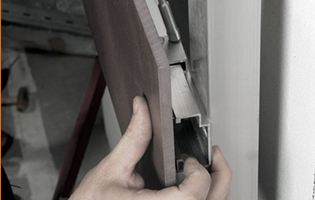
Step 7
The slab must be “hooked” by hitching the clips to the horizontal profile.
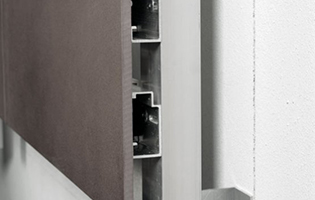
Step 8
Finally, adjust the screws on the adjustment staples so that the correctly sized horizontal joints are obtained.
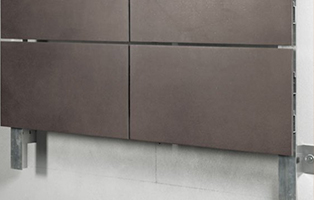
Step 9
Finally, adjust the screws on the adjustment staples so that the correctly sized horizontal joints are obtained.
PROJECT SHOWCASE
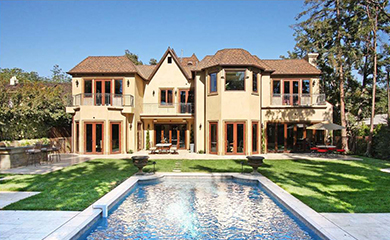
Alpine Residence
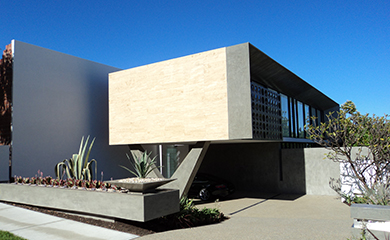
Australia Private House
